
How to Make Stainless Steel Jewelry
Controse Jewelry on Dec 27th 2019
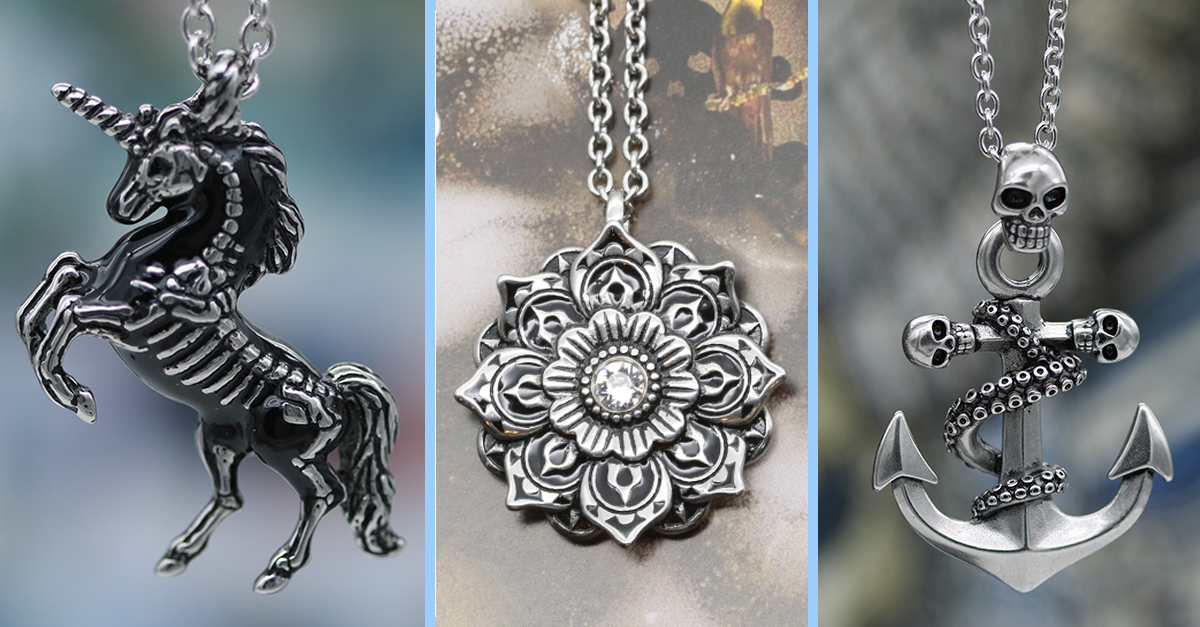
Stainless steel jewelry is today very popular and for several reasons. First of all, it doesn’t cause any allergies because it usually doesn’t react with the skin. Also, it is very durable and hard to tarnish, and it is easy to clean. However, it is sometimes hard to turn scrap steel into fabulous wearable art, but the satisfaction of making it is high and all of your work is paid off when someone asks you where did you get that cute necklace. There are a few things to master in the making of stainless steel jewelry, but let’s start from the beginning.
The History Of Stainless Steel
Throughout history stainless steel was called the superman of metals by experts, and they say it was discovered at the beginning of the 1900s. Also, even from 1821, people did experiments on this metal and they have found that it was resistant to corrosion and acids.
In order to make stainless steel, they had to use chromium. One Frenchman called Berthier, decided to study the matrix of iron and how chromium affects it and he discovered that you would need at least 10% of chromium in order to make a strong metal that won’t tarnish. Then, several years later, another Frenchman called Brustlein found that if you add a bit of carbon mixed with chromium with iron you can create the material that is today known as stainless steel. Later on, this metal because really famous and people started making stainless steel jewelry that we all love today.
Elements in Stainless Steel
By default, steel contains carbon, chromium, and nickel. However, in order for steel to be stainless, it must contain at least 10% chromium, as the Frenchman found out. Chromium is what makes the steel stainless and durable and it does so by creating an invisible top layer that prevents oxygen from reacting with the materials and causes it to rust. Other elements in stainless steel are: selenium, sulfur, phosphorus, titanium, copper, nitrogen, molybdenum, niobium, silicon, cobalt, and calcium.
Preparation
In order to make stainless steel jewelry, you will need to collect stainless steel flatware, scraps, instant adhesive, semi-precious cabochons, authenticity cards for each type of cabochons (these will make your jewelry authentic and precious if you plan to sell them later) and jewelry cards.
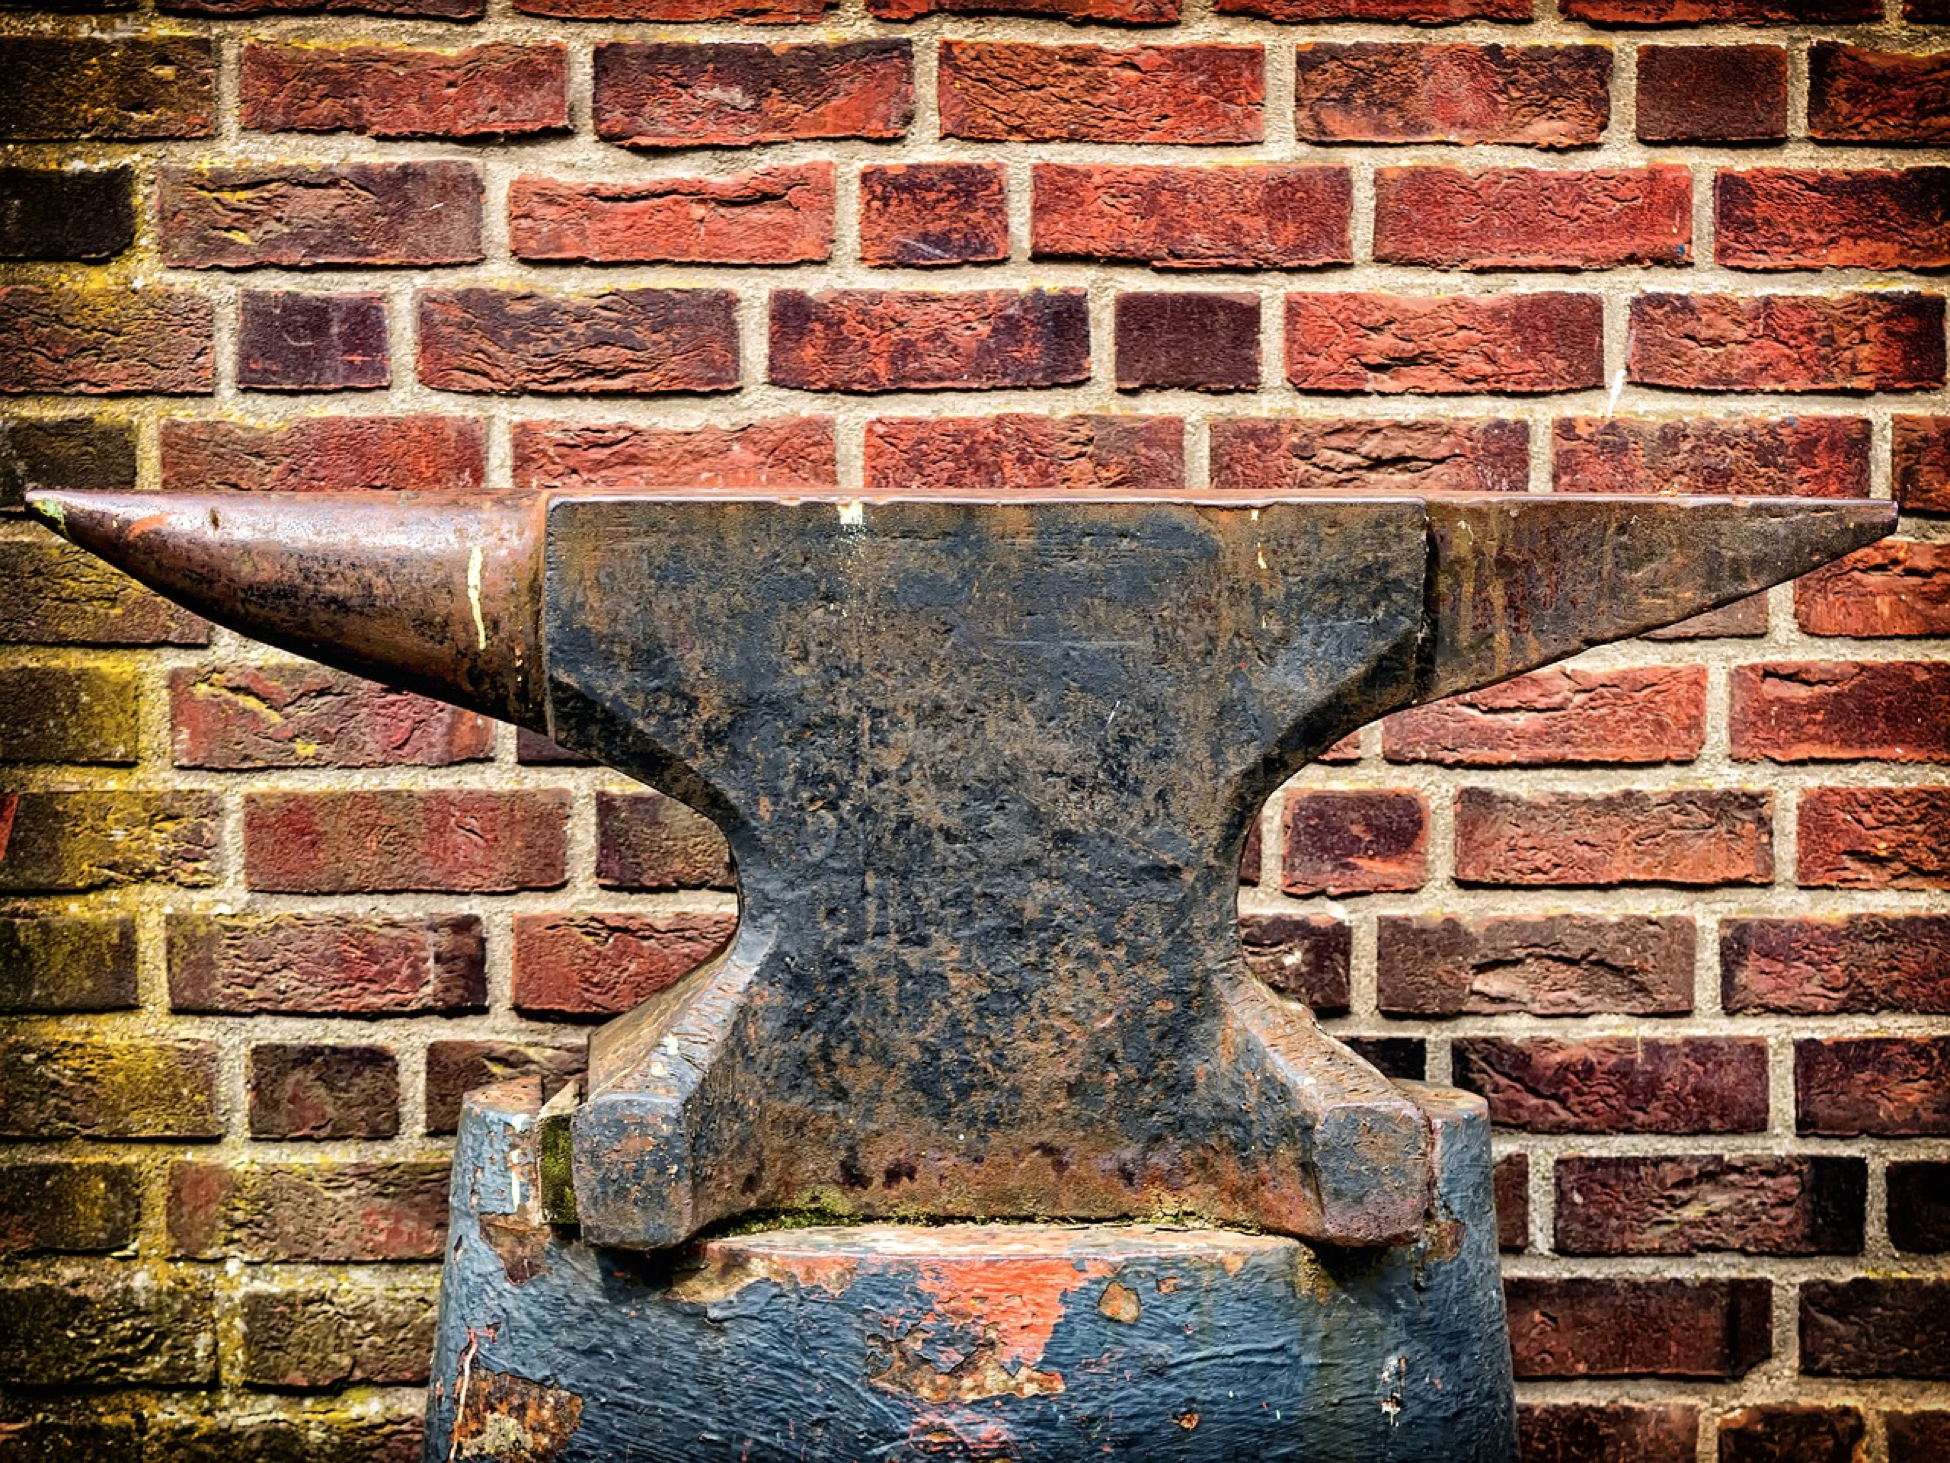
Also, you should buy a jeweler’s mandrel, files and a Dremel tool with different bits. Add two pairs of vise grips, small anvil or strike plate, a pair of needle-nose pliers, hot and cold chisels and a power drill. Lastly, you will need a small grinder with polishing, grinding and wire wheels. With these, your work station is set and you can proceed with melting the metals.
Making Stainless Steel Jewelry
Start by tempering all the steel you would like to use and place it in the oven at 450 degrees Fahrenheit and let it sit there for an hour. However, make sure that the pieces are not touching one another. After one hour in the oven, let the steel cool to room temperature and repeat the heating and cooling process three times. This is an important step because if you don’t temper the steel before bending or hammering it, it will most likely shatter.
Then, hold a piece you would like to work on in tongs and heat it to bright orange. Lay it against some curved surface (a jewelry mandrel, pipe, horn of the anvil) and gently tap until the piece is curved to a necessary arc. Allow it to cool down to room temperature once again.
The next one is adding semi-precious cabochons to your stainless steel jewelry. First, apply a drop or two of that instant adhesive to the back of the cabochon and to the piece you’re making. Let it dry for 30 seconds and then firmly press the cabochon onto its place. Wipe any excess dripping and use a buffing wheel to polish your stainless steel jewelry and your piece is done!
Making stainless steel jewelry isn’t too complicated. However, you do need some serious gear in order to make this happen and don’t forget to wear your safety gear as well!